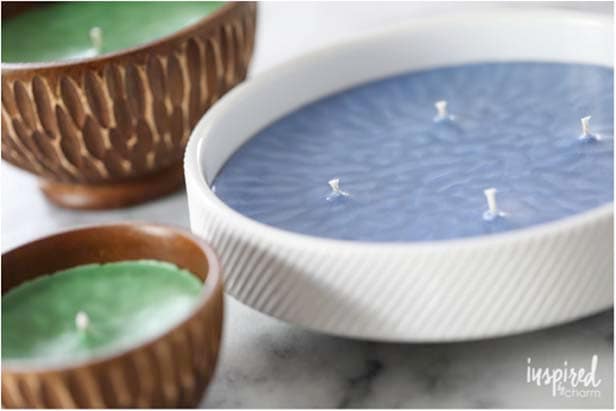
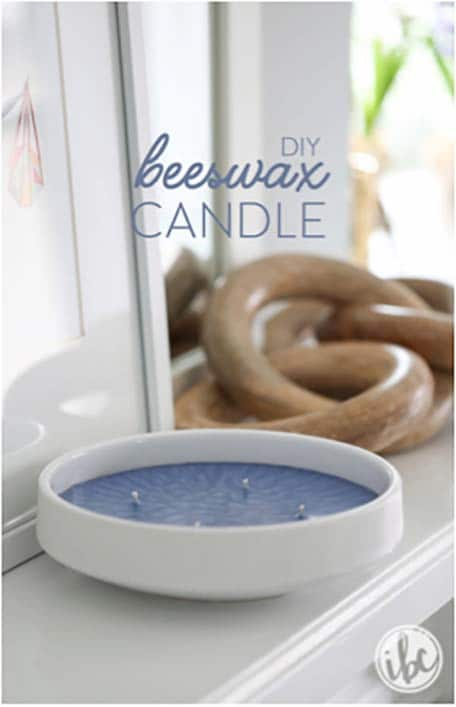
Being a self-proclaimed candle-holic, it’s hard to believe I’ve never attempted making my own candles. However, this past weekend, I finally dipped my toe into the candle-making pool, and now I may never get out. I loved it, so today, I thought I’d teach you how to create your own DIY Beeswax Candles!
For this post, I’m teaming up again with the wonderful folks of Carnival Cruise Line. During my last cruise, I had an opportunity to hang out at their Cloud 9 Spa. For me, it’s essential to enjoy some pampering when on vacation, and the spa offers that and more. It’s truly a treat for your senses.
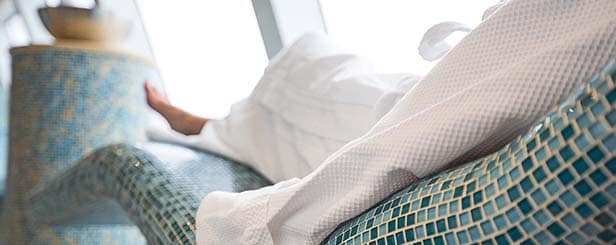
I have a strong sense of smell, so taking in the calming and soothing scents of the Cloud 9 Spa is my first cue to relax. In an effort to recreate that same feeling of relaxation at home, I decided to get crafty and make some candles of my own using beeswax and essential oils.
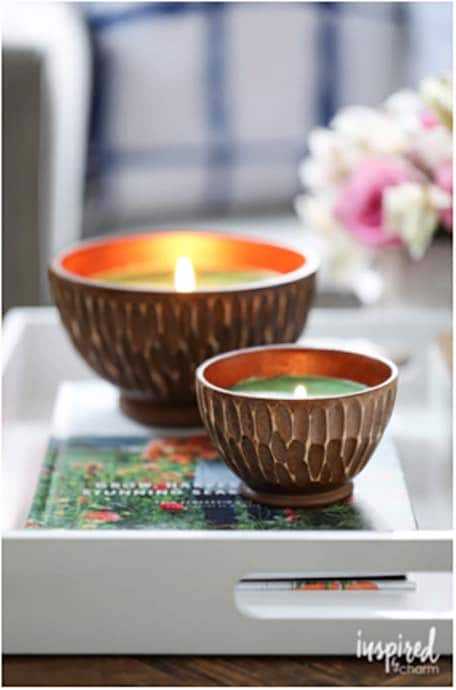
You may remember that in my “How to Decorate with Travel Souvenirs” post, I showed you a couple beautiful carved wooden bowls. Those were another source of inspiration for this project as I wanted to put them to use, and I thought candles would be perfect.
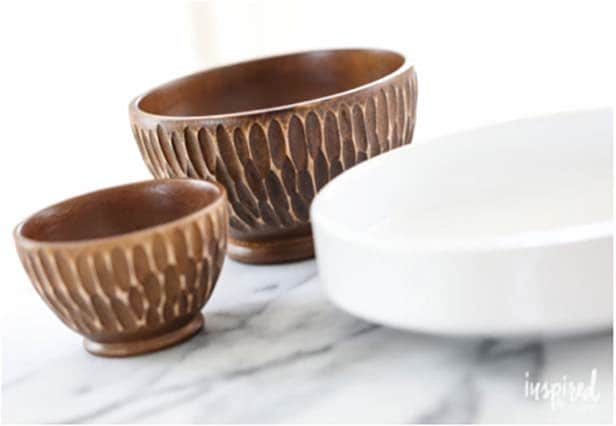
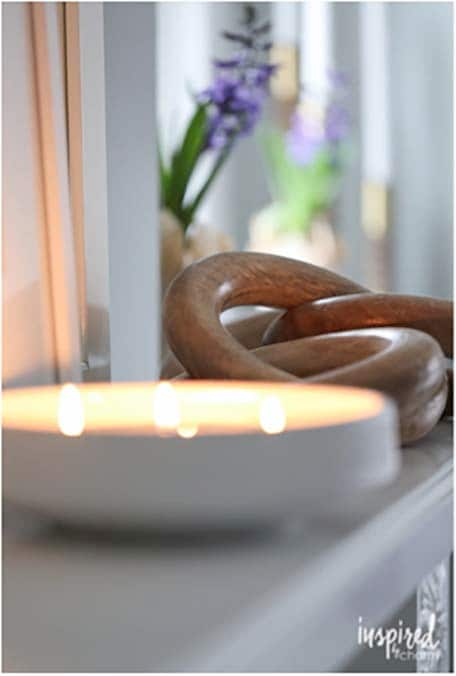
And because one style of candle just wouldn’t be enough for this project, I also picked up this shallow ceramic bowl to create one of those large-scale candles I’ve been seeing everywhere.
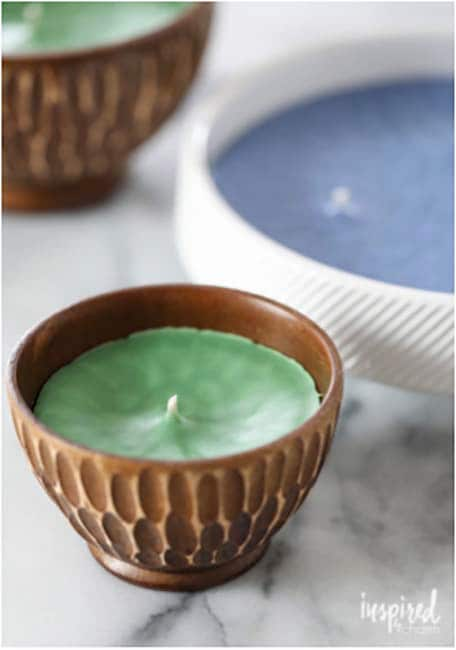
Are you ready to get this candle making underway?
 Here’s what you will need:
- 1/2 pound beeswax pellets
- 1/4 cup coconut oil
- Wax dye
- Essential oils (lavender and sandalwood)
- Candlewick(s)
- Wick sticker(s)
- Vessel(s) for the candles
- Large glass jar
- Bamboo skewers
- Tape
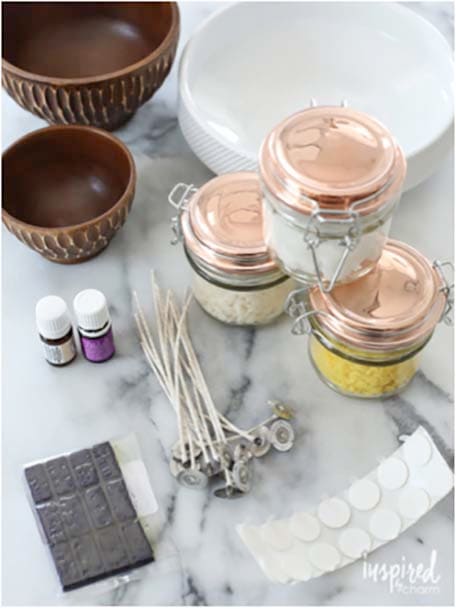
First, you’ll want to prepare your vessels for the wax. I found these great wick stickers that make it easy to attach a wick to the bottom of your vessel. In the center, l placed a wick sticker and then added the candlewick.
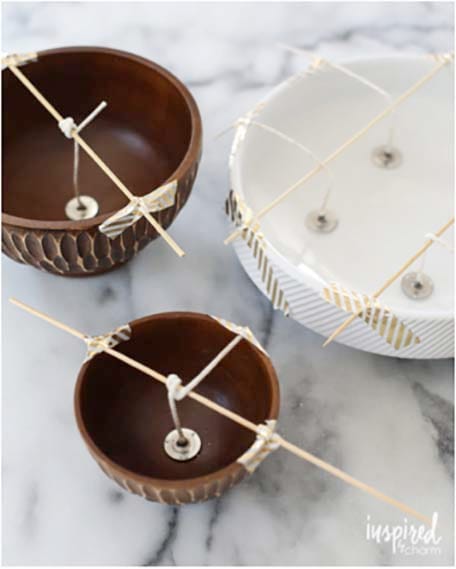
To keep the wick upright when pouring in the wax, secure it with a bamboo stick and tape.
Next, you’re ready to melt the wax. Begin by filling a large heatproof glass mason jar with the beeswax pellets. Then, fill a large saucepan with enough water so that the water level is slightly above the height of the beeswax. Place the jar into the water and heat the water until it reaches a gentle boil.
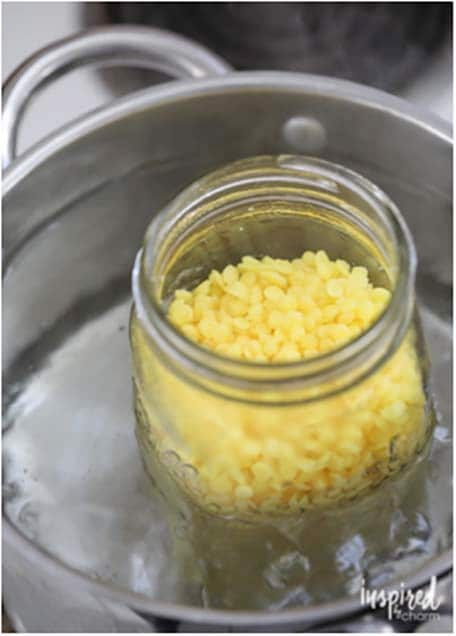
Allow the heat from the water to melt the beeswax. You can use an old wooden spoon to stir it every few minutes.
(Working with wax can be messy, so I recommend using older kitchen supplies that you don’t mind getting a little wax on.)
Once the beeswax has melted, turn off the heat. Then add coconut oil, and if desired, wax dye. A small amount of dye goes a long way so add a little at a time until you achieve the color you’re after. Finally, add 10-12 drops of essential oil. I used lavender for one candle and sandalwood for another. (Add more drops for a stronger scent.) Stir to combine the oil and wax.
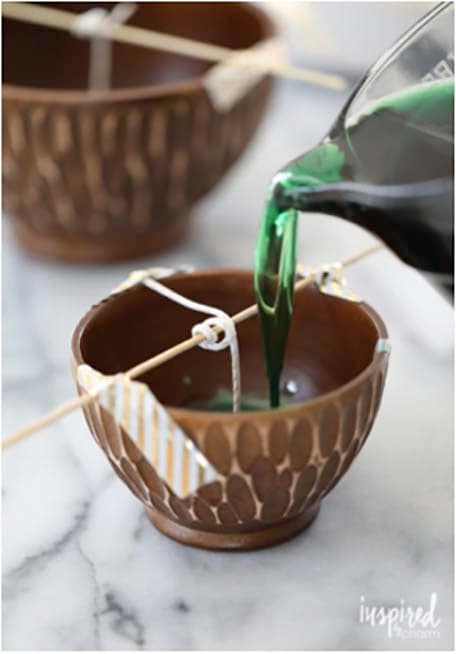
Carefully pour the wax mixture into your prepared candle container. Let the candle set for at least a day before burning.
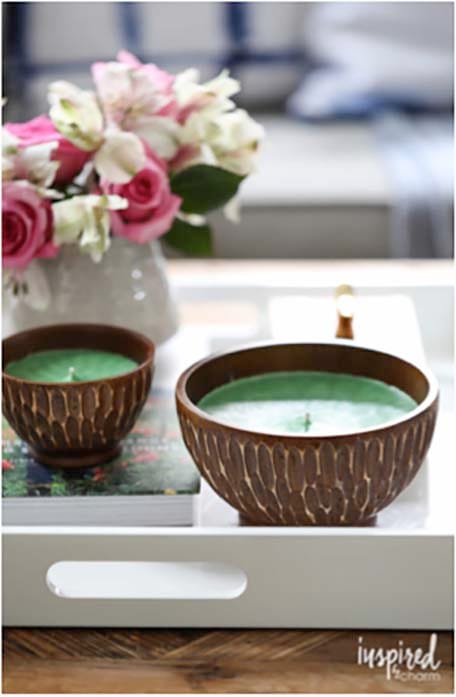
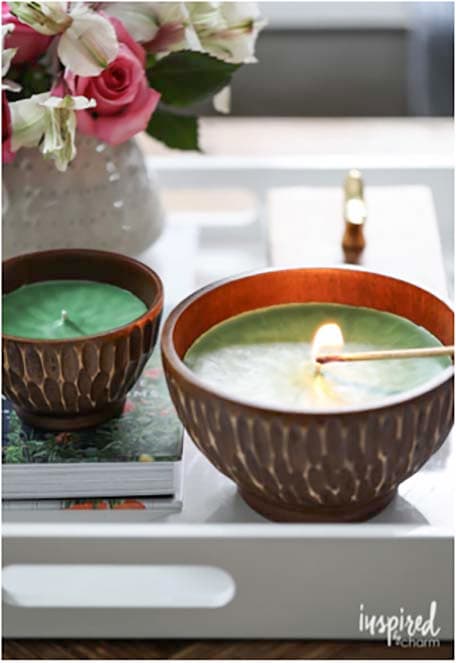
Prior to burning, trim your wicks to about 1/4-inch. Also, to avoid tunneling when burning your candles, it’s recommended that you let the candle burn for an hour or two the first time you light it. Essentially, you want to make sure the entire top melts on the first burn. Also, please remember to never leave a lit candle unattended.
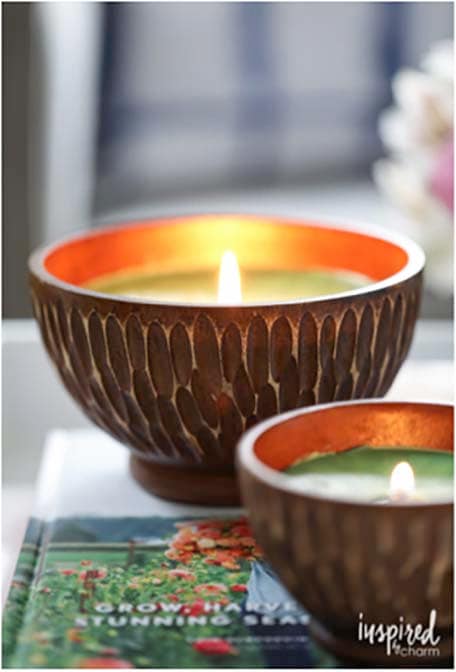
And that’s it, friends. Your candles are ready to give you a relaxing, spa-like experience at home.
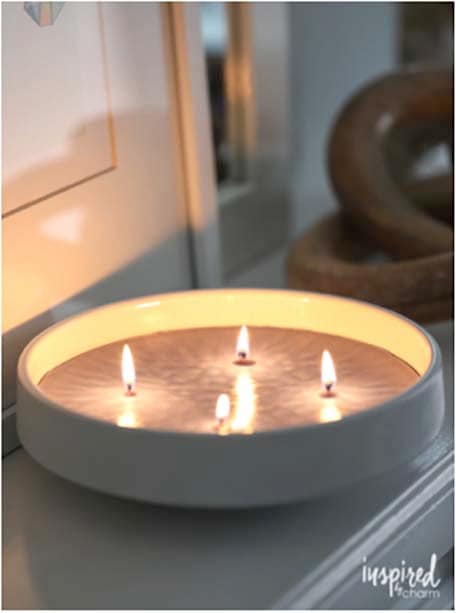
With a variety of wax colors, essential oils and vessels, you can make candles that are perfectly suited to your home and style. That way, when you’re not relaxing at Carnival’s Cloud 9 Spa as you float through the Caribbean on Carnival’s newest ship, you can at least pretend you are.
For an even bigger at-home treat, pair your scented candle with some of my DIY bath bombs. You’re welcome.
This post was created for Away We Go with Carnival, the destination for getting in the getaway state of mind.
